Sws101_journal5
TryHackMe Snort
Task 1 Introduction
The primary goal of the Snort room is to enable participants to start working with Snort for analyzing both live and captured network traffic like real-time threats.
The room is structured into several tasks including interactive material and virtual machine (VM) setups, writing IDS rules for various protocols (HTTP, FTP, etc.), and troubleshooting rule syntax errors.
To investigate traffic data and stop malicious activity under different scenarios.
Task 2 Interactive Material and VM
Deploy the Machine: Start the virtual machine provided for the task. It will appear in the split-screen view once ready. If not visible, click the “Show Split View” button.
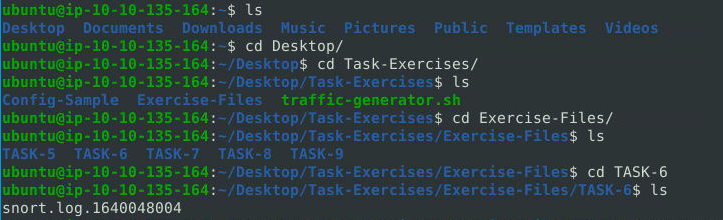
Access Exercise Files: Upon starting, locate the “Task-Exercises” folder on the Desktop. This folder contains all necessary files for the exercises, organized into individual folders for each task.
- Understand Folder Structure: There are two main sub-folders:
- Config-Sample: Contains sample configuration and rule files for reference. These are not used by the installed Snort instance but are provided for practice and modification.
- Exercise-Files: Houses separate folders for each task, including pcap, log, and rule files for hands-on work.
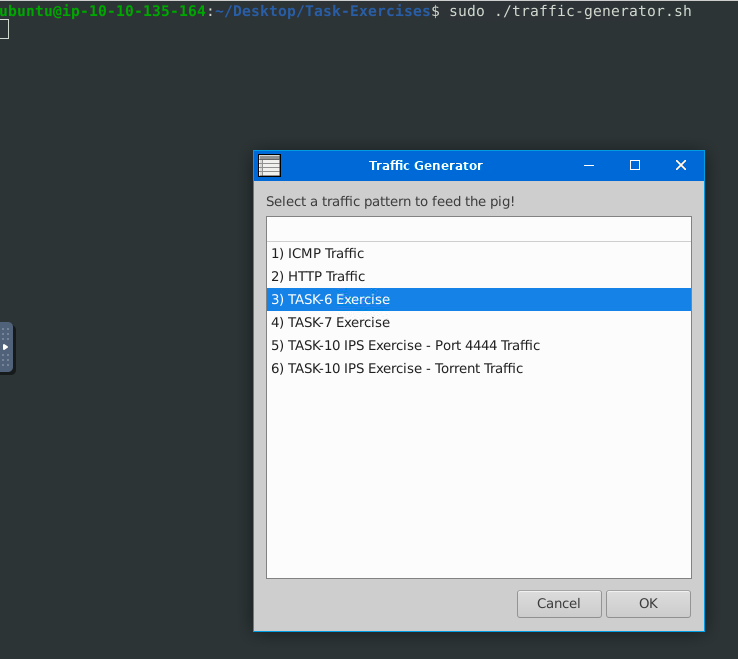
Use the Traffic Generator Script: Since the machine is offline, a script named traffic-generator.sh is provided to generate network traffic for Snort analysis. Run this script with sudo to start generating traffic based on the selected exercise type. Ensure Snort is running and wait for the script to finish before stopping the traffic.
- Execute the Traffic Generator Script: Run the script by executing sudo./traffic-generator.sh in the terminal. This will initiate the traffic generation process, allowing you to select the type of exercise and observe the output in a new terminal window.


Task 3

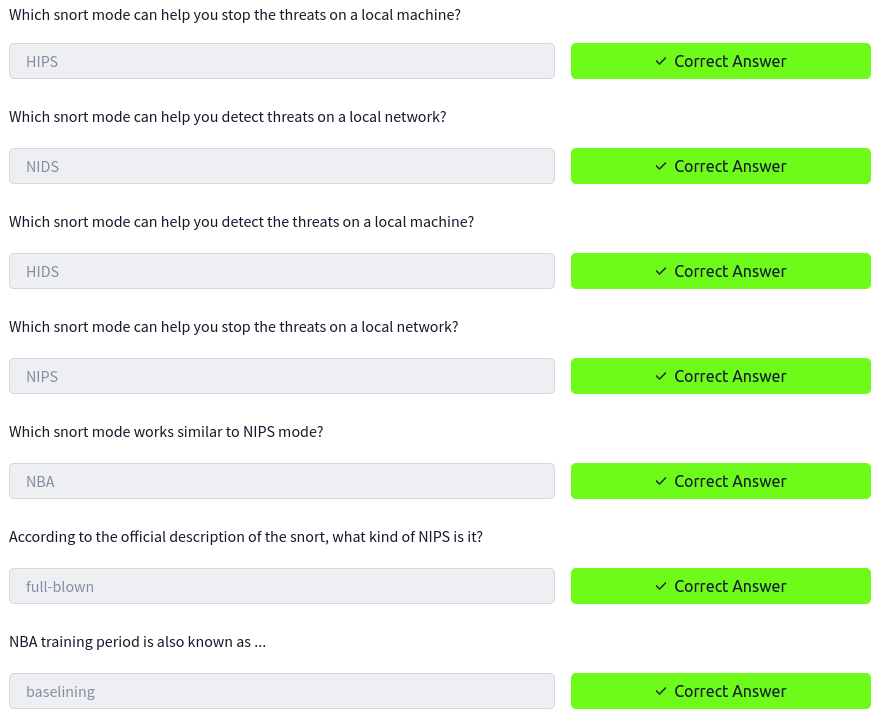
An Intrusion Detection System (IDS) is a passive monitoring solution that detects potential malicious activities, abnormal incidents, and policy violations by generating alerts for suspicious events.
IDS can be categorized into Network Intrusion Detection System (NIDS) and Host-based Intrusion Detection System (HIDS), with NIDS monitoring network traffic across the entire subnet and HIDS focusing on a single device.
In contrast, an Intrusion Prevention System (IPS) actively prevents malicious activities by stopping or terminating suspicious events upon detection.
IPS includes Network Intrusion Prevention System (NIPS), Behavior-based Intrusion Prevention System (Network Behavior Analysis - NBA), Wireless Intrusion Prevention System (WIPS), and Host-based Intrusion Prevention System (HIPS), with NIPS and NBA monitoring network traffic, WIPS focusing on wireless networks, and HIPS protecting individual devices.
IDS identifies threats but requires user intervention to act upon them, whereas IPS can identify and block threats with minimal user assistance.
Snort, an open-source, rule-based Network Intrusion Detection and Prevention System (NIDS/NIPS), offers live traffic analysis, attack and probe detection, packet logging, protocol analysis, real-time alerting, and supports
Task 4: First Interaction with Snort
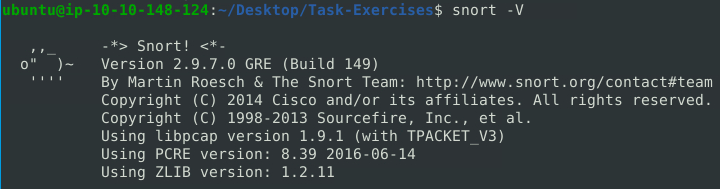
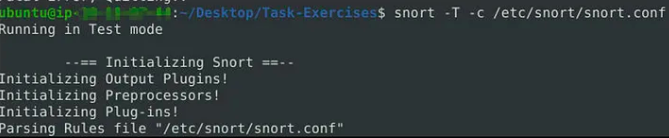
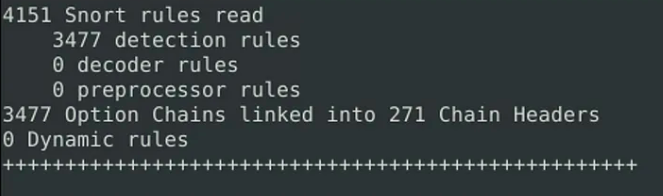
Here are some of the parameters to help us solve the questions.
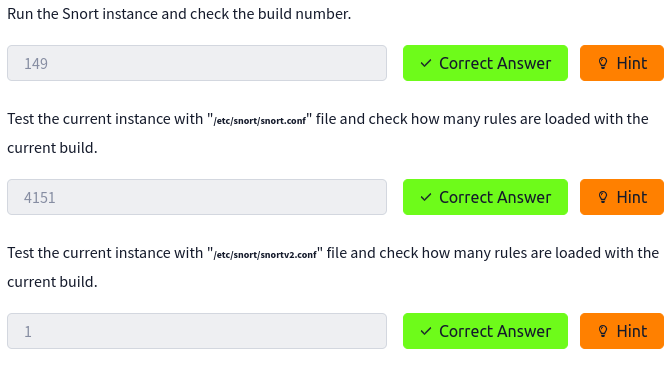
V / — version -This parameter provides information about your instance version. -c -Identifying the configuration file -T -Snort’s self-test parameter, you can test your setup with this parameter. -q -Quiet mode prevents snort from displaying the default banner and initial information about your setup.

Task 5: Operation Mode 1: Sniffer Mode
For viewing various data about the packet it is ingesting, snort has various flags.
Sniffer mode parameters:
-v: Verbose. Display the TCP/IP output in the console.
-d: Display the packet data (payload).
-e: Display the link-layer (TCP/IP/UDP/ICMP) headers.
-X: Display the full packet details in HEX.
-i: This parameter helps to define a specific network interface to listen/sniff. Once you have multiple interfaces, you can choose a specific interface to sniff.
sniffing with -i
1
sudo snort -v-i eth0
-v
1
sudo snort -v
-d
1
sudo snort -d
-de
1
sudo snort -de
-X
1
sudo snort -X
parameters both in combined and separated forms;
- snort -v
- snort -vd
- snort -de
- snort -v -d -e
- snort -X
Task 6: Operation Mode 2: Packet Logger Mode
packet logger parameters:
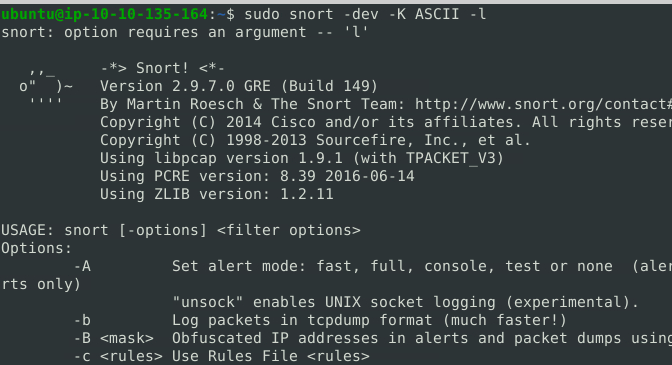
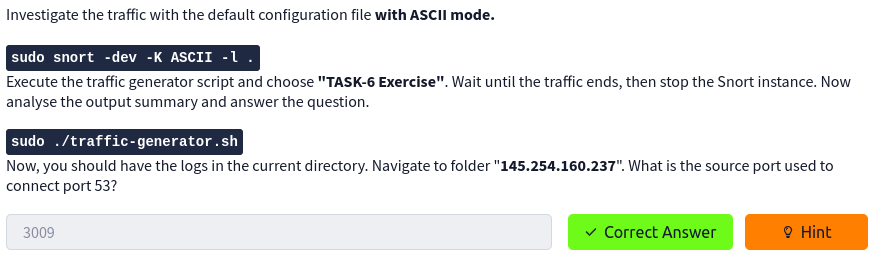
-l: Logger mode, target log and alert output directory. Default output folder is /var/log/snort
The default action is to dump as tcpdump format in /var/log/snort
-K ASCII: Log packets in ASCII format.
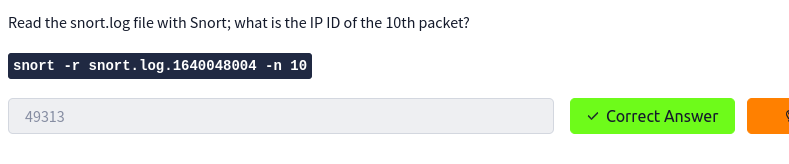
-r: Reading option, read the dumped logs in Snort.
-n: Specify the number of packets that will process/read. Snort will stop after reading the specified number of packets.

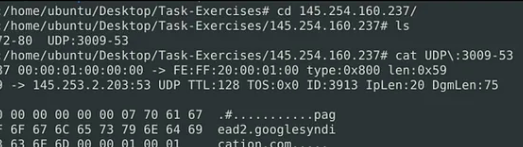
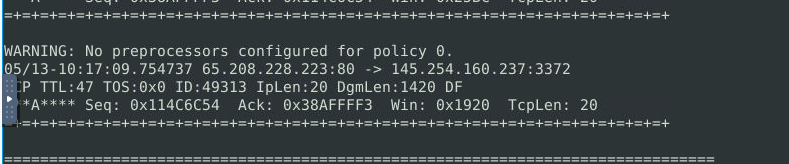

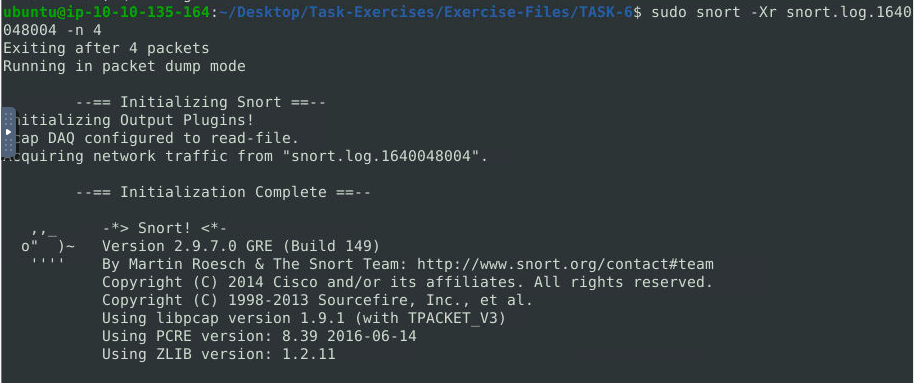
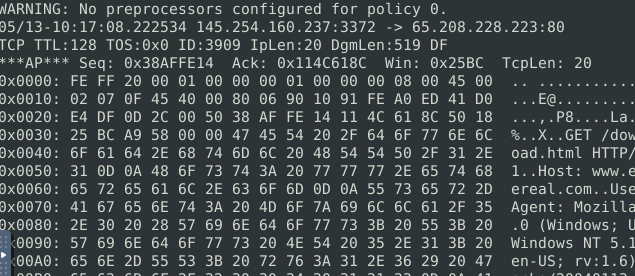
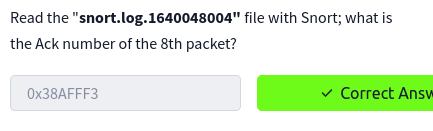
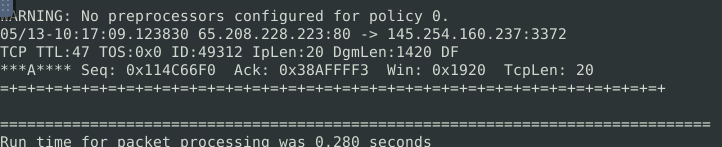
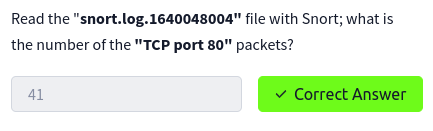
For this task, we will be utilizing “BPF”. According to Wikipedia, “The Berkeley Packet Filter (BPF) is a technology used in certain computer operating systems for programs that need to, among other things, analyze network traffic. It provides a raw interface to data link layers, permitting raw link-layer packets to be sent and received.”
1
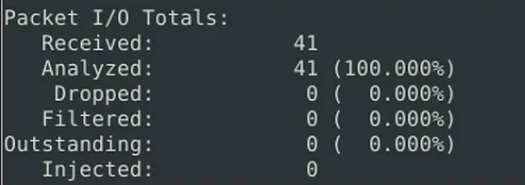
sudo snort -r snort.log.1640048004  'tcp port 80'
Task 7 Operation Mode 3: IDS/IPS
Note that (N)IDS/IPS mode depends on the rules and configuration. TASK-10 summarises the essential paths, files and variables. Also, TASK-3 covers configuration testing. Here, we need to understand the operating logic first, and then we will be going into rules in TASK-9
NIDS mode parameters:
- -c :Defining the configuration file.
- -T :Testing the configuration file.
- -N :Disable logging.
- -D :Background mode.
- -A: Alert modes;
- full: Full alert mode, providing all possible information about the alert. This one also is the default mode; once you use -A and don’t specify any mode, snort uses this mode.
- fast: Fast mode shows the alert message, timestamp, source and destination IP, along with port numbers.
- console: Provides fast style alerts on the console screen.
- cmg: CMG style, basic header details with payload in hex and text format.
- none: Disabling alerting
Once you start running IDS/IPS mode, you need to use rules. We will use a pre-defined ICMP rule as an example. The defined rule will only generate alerts in any direction of ICMP packet activity.
1
alert icmp any any <> any any  (msg: "ICMP Packet Found"; sid: 100001; rev:1;)
IDS/IPS mode with the different parameters:
1
2
3
4
5
6
7
8
9
sudo snort -c /etc/snort/snort.conf -T
sudo snort -c /etc/snort/snort.conf -N
sudo snort -c /etc/snort/snort.conf -D
sudo snort -c /etc/snort/snort.conf -D -X -l .
sudo snort -c /etc/snort/snort.conf -A console
sudo snort -c /etc/snort/snort.conf -A cmg
sudo snort -c /etc/snort/snort.conf -A fast
sudo snort -c /etc/snort/snort.conf -A full
sudo snort -c /etc/snort/snort.conf -A none
With parameter “-D”, we can activate verbosity (-v) or full packet dump (-X) with packet logger mode (-l) and we will still have the logs in the logs folder, but there will be no output in the console.
Once you start the background mode and want to check the corresponding process, you can easily use the “ps” command as shown below;
1
ps -ef | grep snort
If you want to stop the daemon, you can easily use the “kill” command to stop the process.
1
sudo kill -9 <pid>
Using rule file without configuration file
1
sudo snort -c /etc/snort/rules/local.rules -A console
IPS mode and dropping packets
Snort IPS mode activated with -Q — daq afpacket parameters. You can also activate this mode by editing snort.conf file.
Activate the Data Acquisition (DAQ) modules and use the afpacket module to use snort as an IPS: -i eth0:eth1
1
sudo snort -c /etc/snort/snort.conf -q -Q --daq afpacket -i eth0:eth1 -A console
Investigate the traffic with the default configuration file.
1
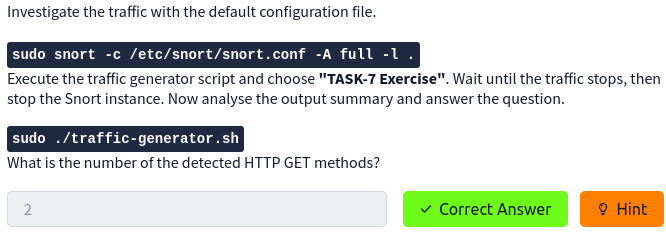
sudo snort -c /etc/snort/snort.conf -A full -l .
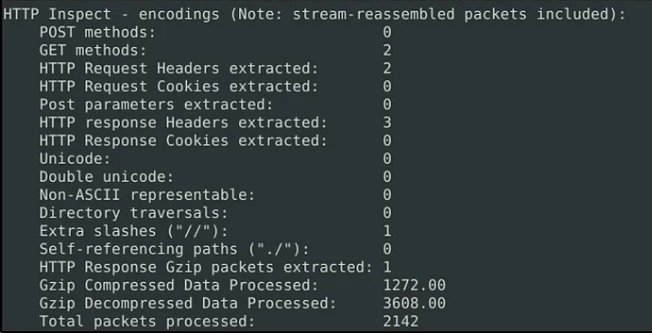
Execute the traffic generator script and choose “TASK-7 Exercise”. Wait until the traffic stops, then stop the Snort instance. Now analyse the output summary and answer the question.
1
sudo ./traffic-generator.sh
Task 8: Operation Mode 4: PCAP Investigation
PCAP mode parameters:
- r / — pcap-single= :Read a single pcap
- — pcap-list=”” :Read pcaps provided in command (space separated).
- — pcap-show :Show pcap name on console during processing.
Investigating single pcap file with a configuration file.
1
sudo snort -c /etc/snort/snort.conf -q -r icmp-test.pcap -A console -n 10
Investigating multiple PCAPs with parameter “ — pcap-list”
1
sudo snort -c /etc/snort/snort.conf -q --pcap-list="icmp-test.pcap http2.pcap" -A console -n 10
Investigating multiple PCAPs with parameter “ — pcap-show”
Snort will identify the traffic, distinguish each pcap file and prompts the alerts according to our ruleset.
1
sudo snort -c /etc/snort/snort.conf -q --pcap-list="icmp-test.pcap http2.pcap" -A console --pcap-show
1
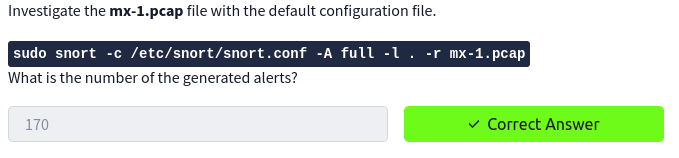
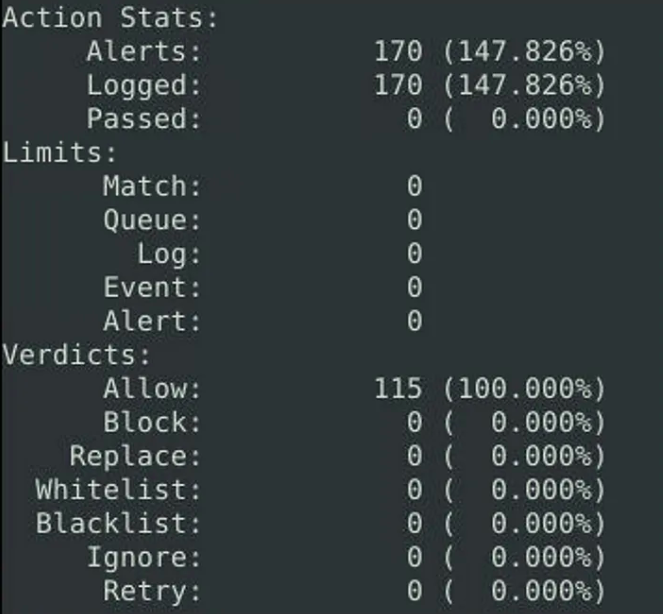
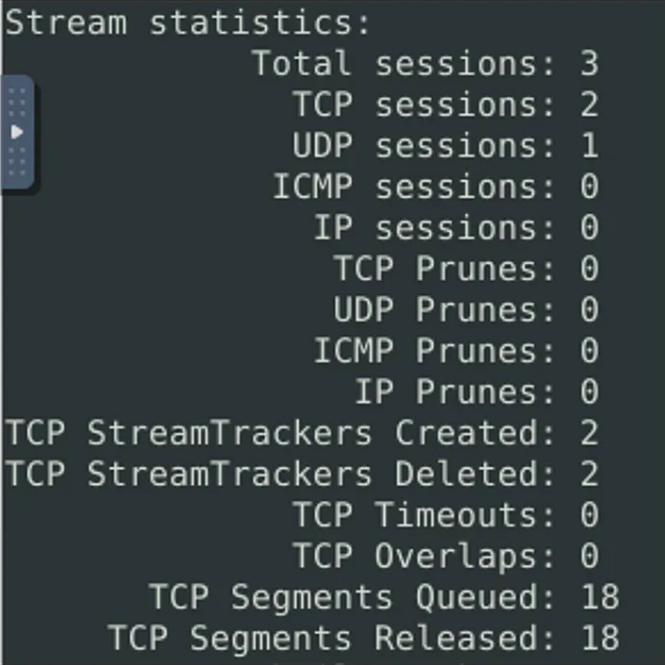
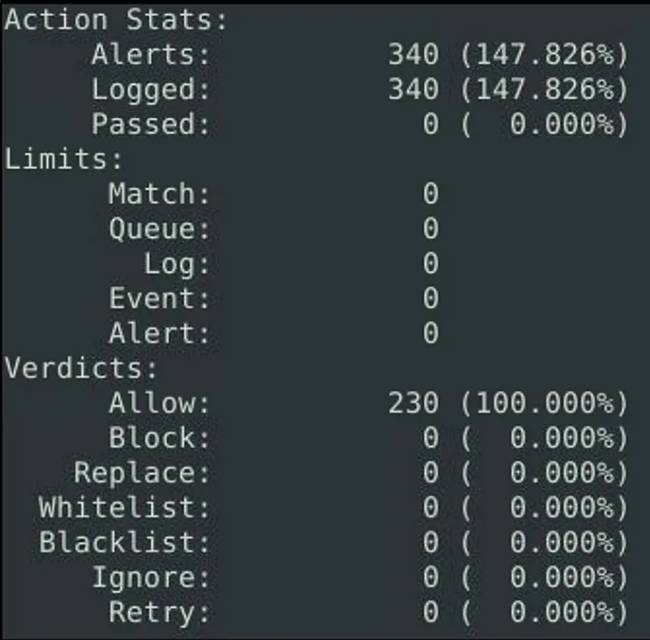
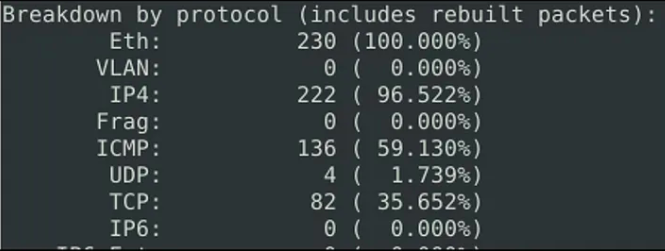
sudo snort -c /etc/snort/snort.conf -A full -l . -r mx-1.pcap


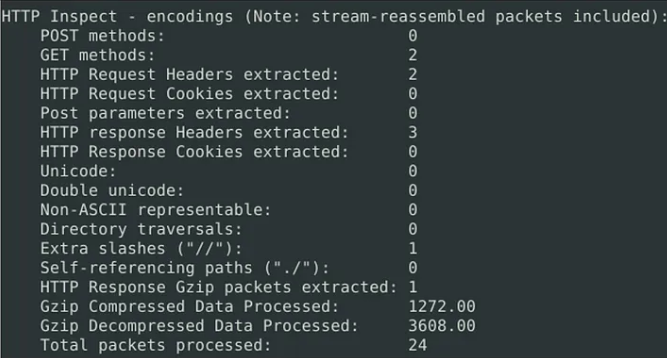
1
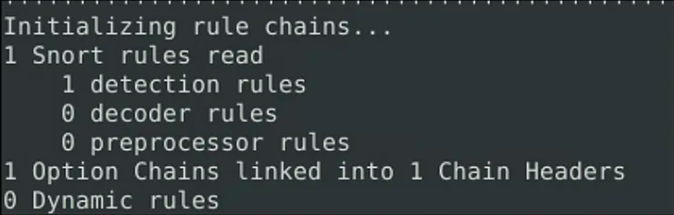
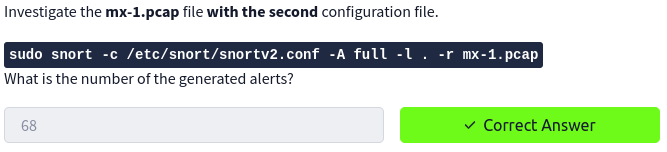
sudo snort -c /etc/snort/snortv2.conf -A full -l . -r mx-1.pcap
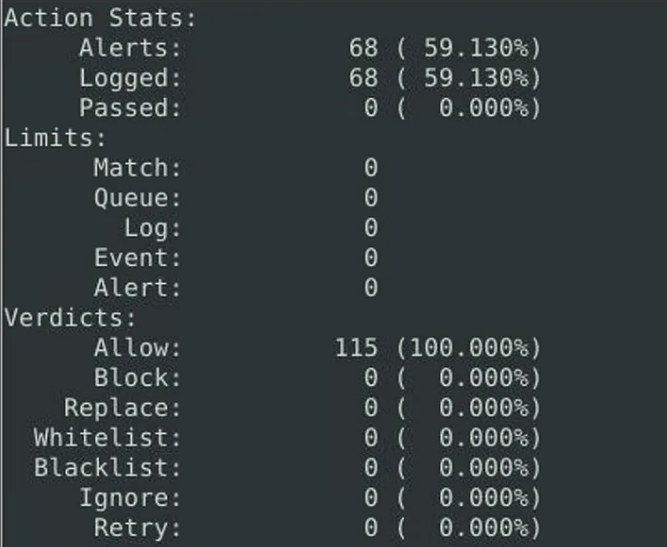
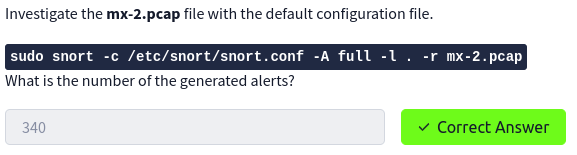

Task 9: Snort Rule Structure
Snort rules are primarily structured with an action, protocol, source and destination IP, source and destination port, and an option.
They are used in both IDS (Intrusion Detection System) and IPS (Intrusion Prevention System) modes, with the latter requiring inline mode.
Actions include alert, log, drop, and reject, with alert being commonly used for IDS mode and reject for IPS mode. Protocols supported are IP, TCP, UDP, and ICMP, with application flows detected through port numbers and options.
IP and port filtering can be done using specific IP addresses, ranges, negation operators, and port numbers or ranges.
Direction operators indicate the traffic flow, with -> for source to destination and <> for bidirectional flow. General rule options include msg, sid, reference, and rev, with sid being crucial for uniquely identifying rules.
Payload detection options allow matching specific payload data, with options like content, nocase, and fast_pattern. Non-payload detection options focus on non-payload data, such as IP ID, TCP flags, packet size, and duplicate source and destination IPs.
Rules are stored in the /etc/snort/rules/local.rules file, and modifications require root privileges.
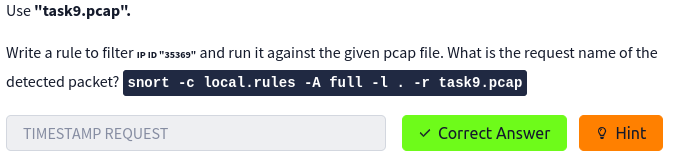
1
sudo snort -c local.rules -A full -l . -r task9.pcap
Before we run the command, we need to edit the rule to filter IP ID “35369”. Refer to the section above for Non-Payload Detection Rule Options. We will create only one rule.
1
sudo nano local.rules

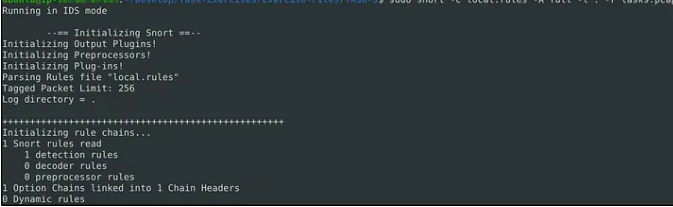
Let’s now run Snort. Observe that it read only the rule we have applied.
1
sudo snort -c local.rules -A full -l . -r task9pcap
We read the alert file and we see the request name.
1
cat alert


Again, refer to the Non-Payload Detection Rule Options. We will include the Option “flags” with a value of “S” to detect SYN flags.

Let’s run Snort.
1
2
3
sudo snort -c local.rules -A full -l . -r task9.pcap

sudo snort -c local.rules -A fill -l . -r task99pcap

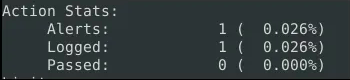
The alert file would confirm that only one packet was detected.
1
cat alert


We just need to change the value of the option “flags” to “PA” to detect Push-Ack flags.
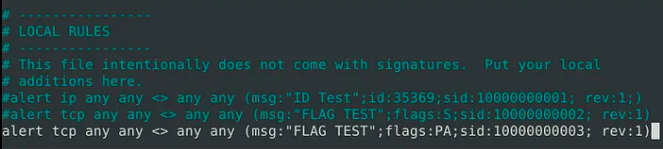
Run Snort. Modified a bit with “-q” so it won’t display results in the screen.
1
sudo snort -c local.rules -A full -l -q . -r task9.pcap
Again, there are ways on how to determine the detected flags. One, is by reading from the log file created.
1
sudo snort -r snort.log.1689840434
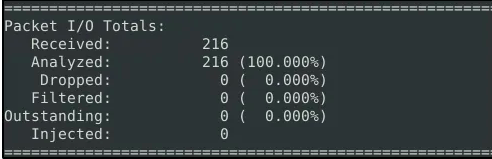
Or from the alert file that was created. We will concatenate the file, then grep some of the keywords we used in the option, and then count the results by line.
1
cat alert | grep "Push-Ack" | wc -l


As the rules are modified for performance and efficiency issues, “rev” number will change too.
Task 10: Snort2 Operation Logic: Points to Remember
Main Components of Snort:
- Packet Decoder: Collects and prepares packets for pre-processing.
- Pre-processors: Arranges and modifies packets for the detection engine.
- Detection Engine: Processes, dissects, and analyzes packets by applying rules.
- Logging and Alerting: Handles log and alert generation.
- Outputs and Plugins: Manages output integration (e.g., alerts to syslog/mysql) and additional plugin support.
Types of Rules:
- Community Rules: Free, publicly accessible, no registration required.
- Registered Rules: Free, requires registration, contains subscriber rules with a 30-day delay. Subscriber Rules (Paid): Requires subscription, updated twice weekly.
Configuration Files:
- snort.conf: Main configuration file.
- local.rules: User-generated rules file.
Key Configuration Sections:
- Set the Network Variables: Manages detection scope and rule paths.
- Configure the Decoder: Enables IPS mode, particularly useful for the single-node installation model with “afpacket” mode.
- Data Acquisition Modules (DAQ): Specific libraries for packet I/O, offering flexibility in processing packets. Includes modes like Pcap (default), Afpacket (inline/IPS), Ipq, Nfq, Ipfw, and Dump.
- Configure Output Plugins: Manages IDS/IPS action outputs, such as logging and alerting formats.
- Customize Your Ruleset: Activates rules by uncommenting lines.
Task 11: Conclusion
In this room, we covered Snort, what it is, how it operates, and how to create and use the rules to investigate threats.
Understanding and practising the fundamentals is crucial before creating advanced rules and using additional options.
Do not create complex rules at once; try to add options step by step to notice possible syntax errors or any other problem easily.
Do not reinvent the wheel; use it or modify/enhance it if there is a smooth rule.
Take a backup of the configuration files before making any change.
Never delete a rule that works properly. Comment it if you don’t need it.
Test newly created rules before migrating them to production.